%20(1080%20x%20600%20px)%20(2).png)


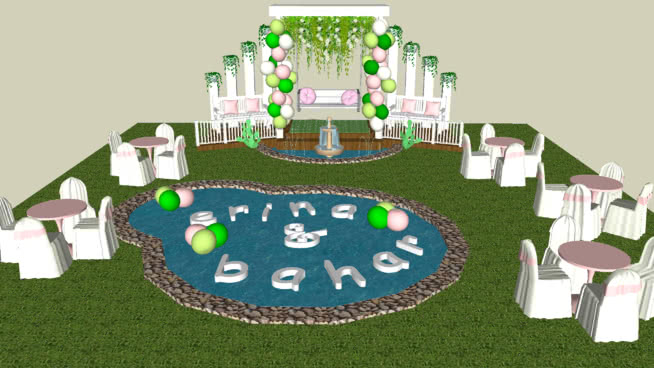
If the idea of using 3D modeling software seems intimidating, don’t worry. SketchUp is an intuitive, easy-to-use tool that makes it a breeze to mock up plans for all sorts of events.Weddings, major events, interior design, and more are perfectly suited to SketchUp’s capabilities.So let’s get started!

Step One: Getting Started
First off, you will need to make an account. Visit the SketchUp website here and click “Get SketchUp”. The website will prompt you for some basic information (what you plan to use the service for).Choose whatever option is most appropriate for you and proceed to make your account. Don’t worry — a simple name and email are all you need. Once you receive the verification code in your email, activate your account and you’re off to the races!
Step Two: Use SketchUp Free
Chances are you’re using SketchUp because it’s easy-to-use and free. Don’t fret about the paid or desktop versions of the service. Stick with the in-browser version of SketchUp: the only thing you need is a modern internet browser and an internet connection.Open up SketchUp Free from the prompt on the website (or just click here).

Step Three: Some Basics
So, you’re loaded into SketchUp. At the top left of the screen, you’ll see a toolbar with some important menus:
- Open Model/Preferences
- Model Name
- Model Menu
- Save
On the lefthand side of the screen, you’ll see your tools:
- Select
- Erase
- Draw Lines
- Draw Shapes
- And more!
Under that, you’ll see your Status Bar, which has the all-important Undo/Redo button and a little information panel.For the right side of the screen, check out your Panels tab. There you’ll find some more advanced tools:
- Materials
- Styles
- Layers
- Scenes
- Views (this one is important!)
Best of all, the ‘Instructor’ panel will provide you with step-by-step (and animated!) steps on how to use every single tool in the program. If you’re ever confused on how to use a tool, simply select the tool and open the Instructor panel.
Step Four: Making Basic Shapes
See that big, empty canvas? That’s your working area. For your first design, don’t try anything big:
- Select your Line tool from the lefthand panel
- Click once to set the origin point
- And click again to set the endpoint!
Try playing around with the Line, Arc, and Rectangle tools until you have an idea of how they work. Notice how each tool ‘snaps’ to make perfect lines, midpoints, and edges.
Step Five: 3D Manipulation
Yes, it sounds more complicated than it is. First step? Select your Rectangle tool, click and drag to make any shape of box you want, and then release the mouse button.Now, choose your ‘Select’ tool (the pointer icon on the lefthand panel) and click once in the center of your rectangle. See how your object lights up?With that rectangle selected, click the ‘Push/Pull’ tool icon and nudge the shape of your little box. You’ll find that you can quickly master using the ‘Select’ and ‘Push/Pull’ tools to make rectangles of any shape or size.What’s a long, thin, tall rectangle remind you of? Exactly! A wall. Do that four times and you’ve designed a building.
Step Six: Working in Two Dimensions
Now that we can make 3D shapes and push them around, it’s a good idea to take a step back. What if we just need a basic floorplan? In only two dimensions?A simple, top-down floorplan is a fantastic way to make your dream wedding or event come to life:
- Start off by going to the righthand ‘Panels’ tab.
- Look for the little movie icon called ‘Views’.
In the ‘Views’ tab, you’ll see options for both ‘Perspective’ and ‘Parallel Projection’. Click the latter and choose ‘Top View’.Voila! Now you’re working with a 2D projection of a floorplan.
Step Seven: Shapes, Measurements, and Imports
With your new 2D canvas, try making a simple room. Like before, just draw a rectangle. The free version of SketchUp doesn’t have the full template functionality as the paid version, but that’s fine.Try measuring your new room:
- Select the ‘Tape Measure’ tool from the lefthand side of the screen
- Click at the starting point (say, top left corner)
- Click at the ending point (bottom left corner)
- You have your measurement!
Stick to 3D, It’s Easier
It seems strange, but sticking to 3D is a lot easier. SketchUp is a 3D modeling program, not a 2D layout designer. To keep things simple, draw everything in 3D and simply ‘pull them up’ — in other words, make your basic shapes and use the ‘Push/Pull’ tool to give perspective. It’s a lot easier, faster, and there are way more tools available to use.
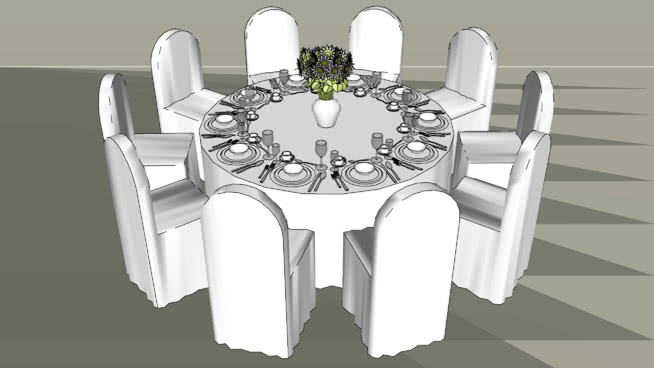
Step Eight: Use the 3D Warehouse
SketchUp comes with a free 3D warehouse loaded with designs and concepts.
- Select the ‘Components’ panel on the righthand side of the screen
- Search for ‘church’ or ‘wedding’ or ‘floorplan’
- Select the model you’d like to import
- Left click to place it on your canvas


.jpg)

